The Auto Heel
I have a confession to make – I’ve only ever done one kind of sock heel. Ever. For my first sock, I found a book, picked a heel, and never looked back. Dozens of socks later, I’m still doing the same thing. I’ve even been known to scoff at other kinds of heels – I’ve never tried them, but since I don’t like the look of them, I don’t see a point in doing so. (Note, I’m open to suggestion and reasoning as to why other heels might be better, I’ve just never found enough reason in my experience to change things.)
So where did I find this awesome sock heel? It was in the Complete Guide to Modern Knitting and Crocheting by Alice Carroll, published in 1949. (Amazon doesn’t seem to have any copies, although they do have some second-hand copies of another book she wrote.) There’s a section on sock construction, and she examines three different heel types: French, German, and Auto. The French and German heels are both flap heels, but the Auto heel is similar to what knitters call a short-row heel.
The biggest difference between the modern short-row heel and an Auto heel is that the latter generates extra stitches which are decreased with a gusset, whereas a short-row heel doesn’t have a gusset. That’s probably one of the biggest downsides of short-row heels, because human feet fit better when there’s a bit of extra room at the top of the instep.
Anyway, all of that was introduction to say that, since the modern world seems to have lost the Auto heel from the Complete Guide to Modern Knitting and Crocheting, I’m going to bring it back. Hopefully I’ll manage to convert one or two of you to the way of the Auto heel – or maybe you’ll be able to convert me away from it, and it will fade quietly into obscurity.
Alice’s instructions on this heel comprise a few paragraphs:
This is a less popular method of turning a heel of a sock or stocking. The heel itself is shallower than in either the French or Dutch methods, but the shaping makes a nicely rounded heel.
Arrange the sts. as for the Dutch and French heels, half the sts. for the heel and half for the instep. The wool should come at right-hand end of heel sts. All first sts. are slipped. P the heel sts. Now work in stockinette st., knitting 1 st. less in every row, until 9 sts. [G.Knerd note: in practice I use one-third of the heel stitches as my stopping point] are left unknitted on each side of small knitted group in center. The last row should be a P row. Turn, and K back along center sts. just purled. Pick up strand between last st. just knitted and first unknitted st. Place it on left-hand needle, and K this loop with first unknitted st. Turn, and repeat this process on P row, purling the loop and the unknitted st. at end of row.
Continue in this manner until all sts. are knitted again.
If that made enough sense to you that you’re ready to go off and do your own Auto heel, great. You probably don’t need to read the rest of this post. Personally, it took me a while to parse out what she meant, and I’d like to save you that step by walking you through each stage and providing some pictures.
Caveat: to be fair, I don’t exactly follow Alice’s directions either – there are a couple places we disagree as to whether you stop on a knit or a purl row, as well as how many stitches you should be using. You can either follow her directions, or you can follow my modified directions, but you probably shouldn’t mix them together or you might not end up where you think you should be.
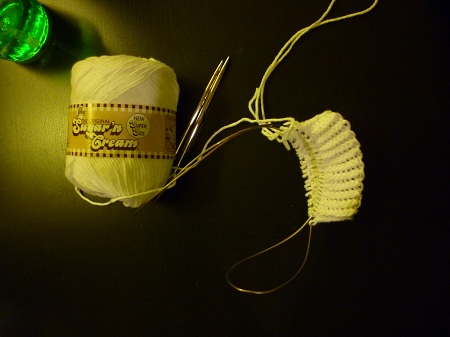
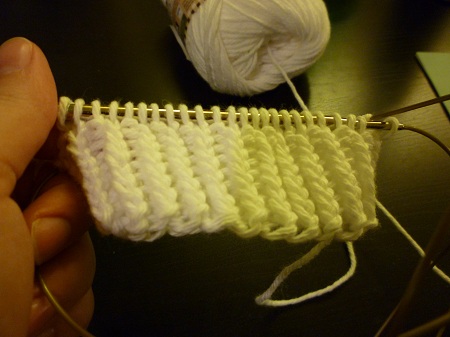
For my demonstration, I took some kitchen cotton and cast on 48 stitches, then knit 10 rows of k1tbl p1 ribbing (because I think it looks cool, and I needed a bit of a cuff to make the heel look right). You can cast on however many stitches and do whatever kind of cuff you like – when you’re ready to do the heel, just separate half the stitches for the heel and leave the other half either on other needles or on waste yarn.
The first step is to knit all the way across your heel stitches (in this case, 24 sts):
Turn the sock, slip the first stitch with yarn in front as if to purl. You’ll do this for every purl row on the heel:
Purl until the second-to-last stitch (in this example, this row was s1 purl-wise, k22). On every row, you’ll knit or purl one less “center” stitch than you did the row before):
Turn the sock, and slip the first stitch with yarn in back as if to knit. You’ll do this for every knit row of the heel:
Again, you’ll knit to the second-to-last stitch (for that row, slip 1, knit 21) and turn. You’ll continue the pattern of purling a row and knitting a row, subtracting a stitch from the center on each row, until you have a third of the stitches left in the center (and, thus, a third on either side as slipped stitches as well). For example, the next few rows on the example would be:
S1 as if to purl, p20, turn.
S1 as if to knit, k19, turn.
S1 as if to purl, p18, turn.
S1 as if to knit, k17, turn.
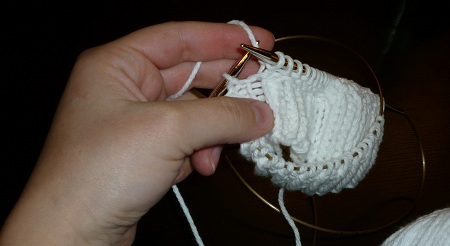
And so on, until you reach the point that the center stitches equals one-third of the heel stitches. In the example, I stopped when I had 8 stitches (including the slip 1) in the center. You want to finish this part of the heel on a knit row (in the example, it was s1 as if to knit, k7). At this point, you should have a pretty triangular shape (shown here on the purl side):
You’ll continue slipping the first stitch of every row as before. Turn so the purl side is facing you, slip 1, and purl across the center stitches – all the way to the last center stitch. At this point, you’ll have something that looks something like this:
You’ll want to pick up and purl this loop:
Here it is picked up:
And after purling that loop, also purl the first slipped stitch off the left needle. At this point, you have 1 more stitch in the heel then you started with, and you’ve added 2 stitches to the “center” stitches. Turn the heel, slip the first stitch, and knit across the center stitches to the end of the center stitches:
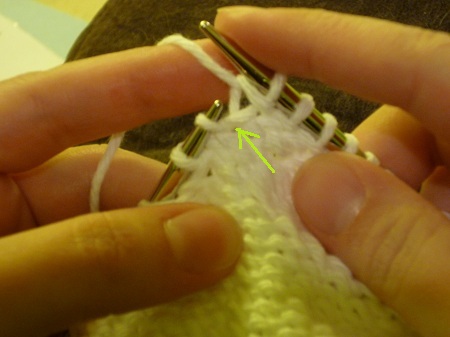
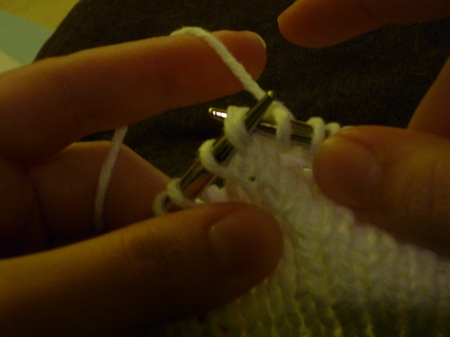
You’ll be picking up two loops here, then knitting them together. This is the first loop:
And the second:
Note: for both loops, you come in from the back when you’re on the knit side of the heel – it’s kind of a scooping motion from the back to pick them up. When you have both of them on the needle, it should look something like this:
The two picked up loops should be knit together through the back loop – insert the right needle through both as if to purl (but with yarn in back), wrap the yarn and pull through the stitch:
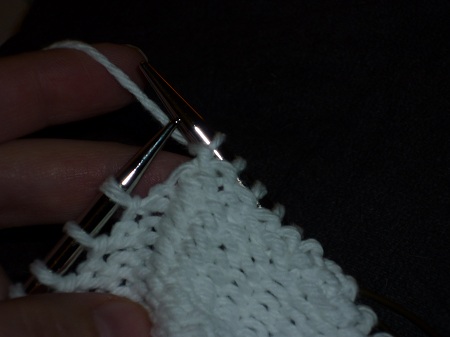
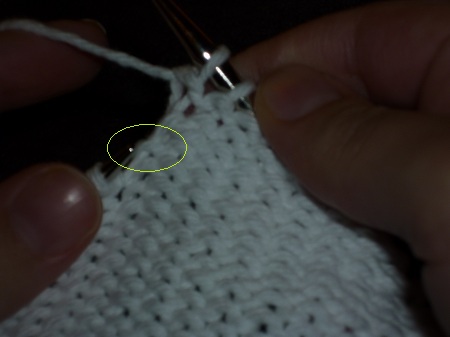
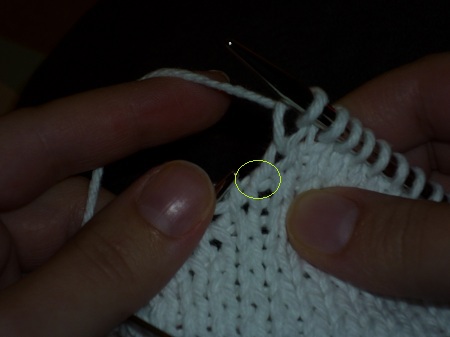
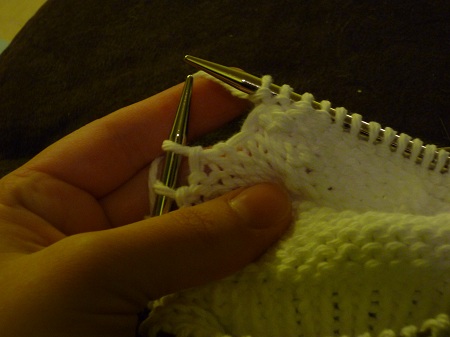
After that, you’ll again knit the first slipped stitch off the left needle, again adding 1 stitch to your overall heel stitch count and 2 stitches to the “center” stitches. Turn, and purl to the end of the center stitches. At this point (and for all heel rows going forward) you’ll pick up 2 loops instead of 1. (Technically, you can do whatever you want, but I find it makes a cleaner join if you pick up the two instead of just one and then knit or purl them together.) Here’s what it would look like on the purl side before picking up anything, with the first loop pointed out:
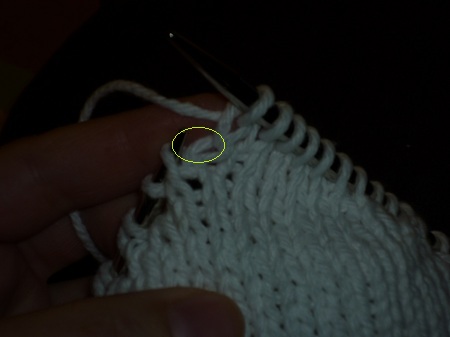
And this is after the first loop has been picked up, with the second loop pointed out:
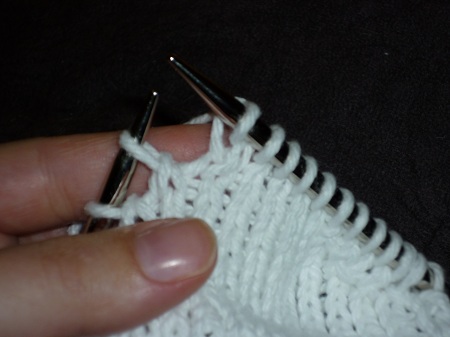
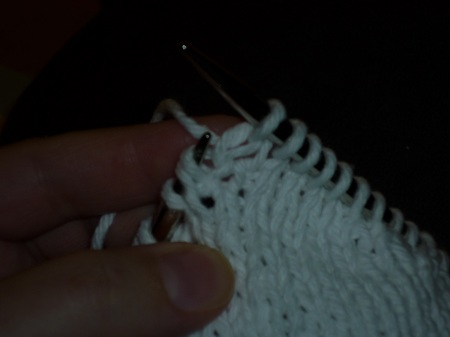
Both loops picked up:
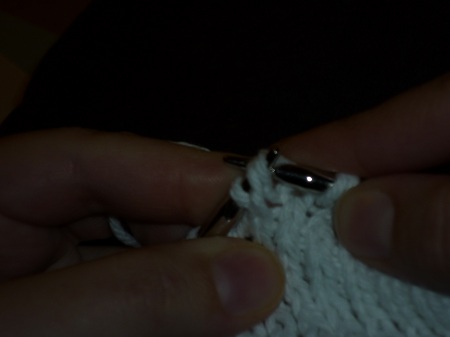
You’ll purl these two loops together, and again purl the first slipped stitch off the left needle:
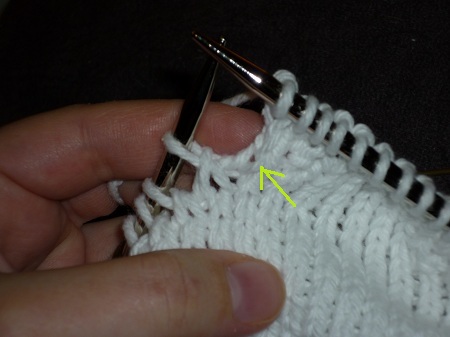
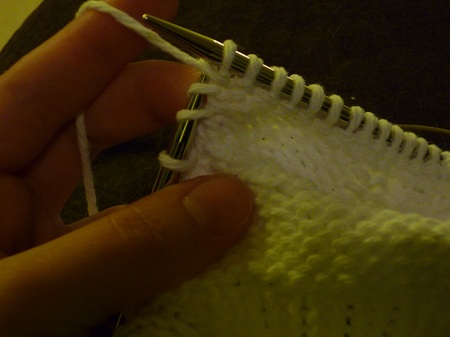
Those pickups are the hardest part of this heel, so I’ll run through them again on another row. On the knit side before picking up any loops, with the first loop pointed out:
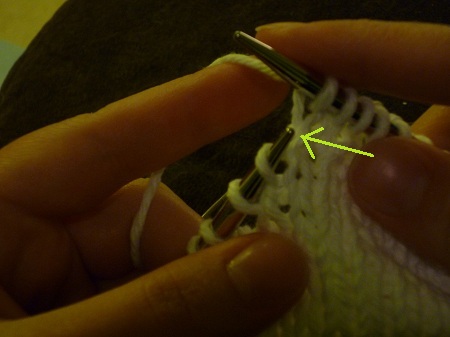
After picking up the first loop, with the second loop pointed out:
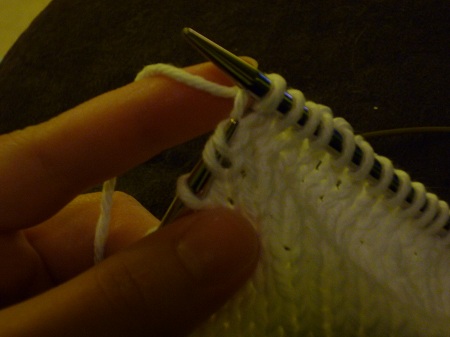
With both loops on the needle:
Knitting both loops together through the back loop:
Again, you’d also knit the first slipped stitch off the left needle, turn, and purl all the way across the center stitches. On the purl side, before picking up any loops:
Picking up the first loop:
Picking up the second loop:
Purling both loops together:
And, once more, don’t forget to purl the first slipped stitch on the left needle. It may seem that I’m beating a dead horse reminding you of it, but there’s been more than one time that I’ve been working a heel and ended up in a bad place because I forgot one of the slipped stitches. There’s nothing worse than getting all the way through a heel before realizing that you made a mistake on the third row after the turn and you have to unravel the whole thing. (Okay, actually, there’s plenty worse, as recent world events will hopefully remind you. I’m lucky enough that this particular revelation would be one of the worst things to happen to me in any given day.)
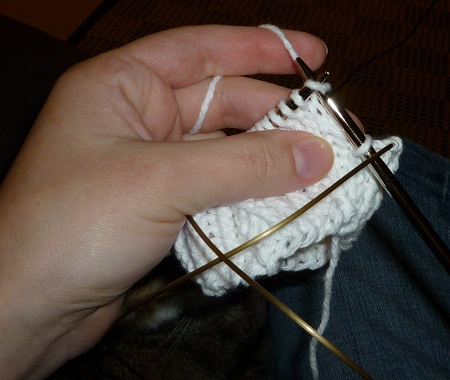
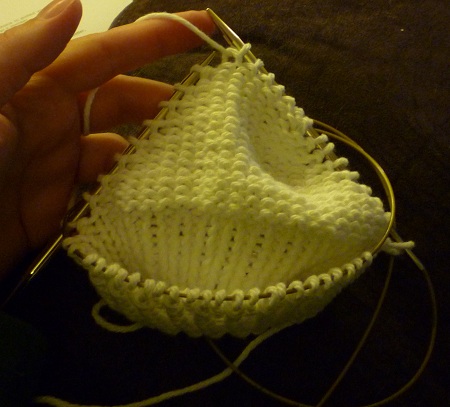
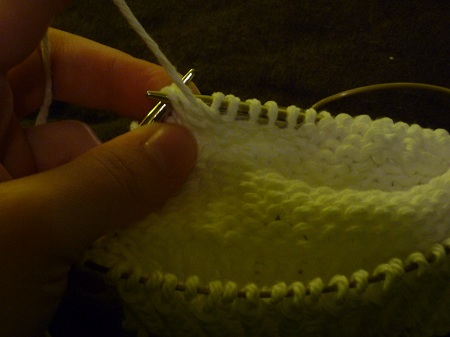
Continue back and forth in this manner, picking up two loops to create a new stitch at the side of the center stitches on each row, until you run out of heel stitches. If you’ve done things right, you should finish on a knit row – the last stitch would be the last slipped knit stitch, and you should have no other slipped stitches on the other side of the heel. You should have almost double your original heel stitches on the heel needle(s) – technically, it should be one and two-thirds times your original stitches, but I never count. You’ll know if it looks like a heel:
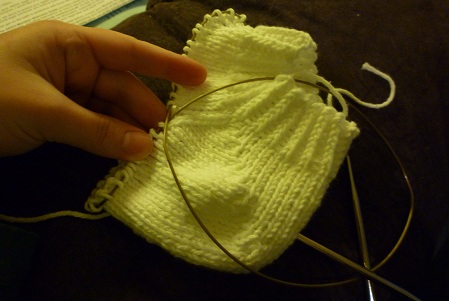
At this point, the only thing left is to remember to do a gusset as you do the top of the instep. For the first row, you’ll knit across the instep (non-heel) stitches (in pattern if you’re doing something patterned), then knit all the heel stitches as well. From this point forward, you’ll always be knitting around the entire sock (unless you’re doing a special toe or you have a really weird pattern for your sock that somehow makes you go back and forth in the instep). When you get to the heel on the next round, ssk the first two stitches of the heel, knit across to the last 2 stitches of the heel, and k2tog. Repeat that row every time you knit the heel stitches until you’ve decreased to the original heel stitch count, then just knit the heel stitches without the decreases. Your gusset will look something like this (the triangle in the ankle area of the “sock”):
And that’s it! I’ve found it very easy to substitute this heel for any sock pattern I’ve tried, so feel free to try it on your own favorite pattern. Let me know how it goes!
Posted: January 18th, 2010 under Uncategorized.
Tags: Instruction, Socks
Comments
Comment from quilting
Time August 18, 2010 at 11:40 pm
Well, I don’t know if that’s going to work for me, but definitely worked for you! 🙂 Excellent post!








Pingback from G. Knerd » Blog Archive » Probably a Bad Sign
Time July 22, 2010 at 6:20 pm
[…] to knit a flap heel. On every other sock I’ve ever knitted, I’ve done an Auto Heel – it was the first heel I ever learned how to do, and it’s the only heel I’ve done […]